I had some time off today so I decided to revisit how I’m hosting all my stuff. One of my issues with using Amazon’s container service is that they make you assign resource values to each container, and those are not flexible. So, I have to give each container high enough memory that it won’t die, but then I run out of space on my server real quick. Since most of the stuff I want to host just sits idle the majority of the time, this wasn’t ideal for me.
I’d heard about Tutum before, so I went to check it out. It’s another container management solution. It’s since been acquired by Docker and rebranded as docker cloud. It’s definitely got a slick interface, and looks to provide all the features I’ll need. One that I particularly like is the “autoredeploy” switch, which automatically redeploys a container when you push a new image. Perfect for my blog. So, I set about getting it set up.
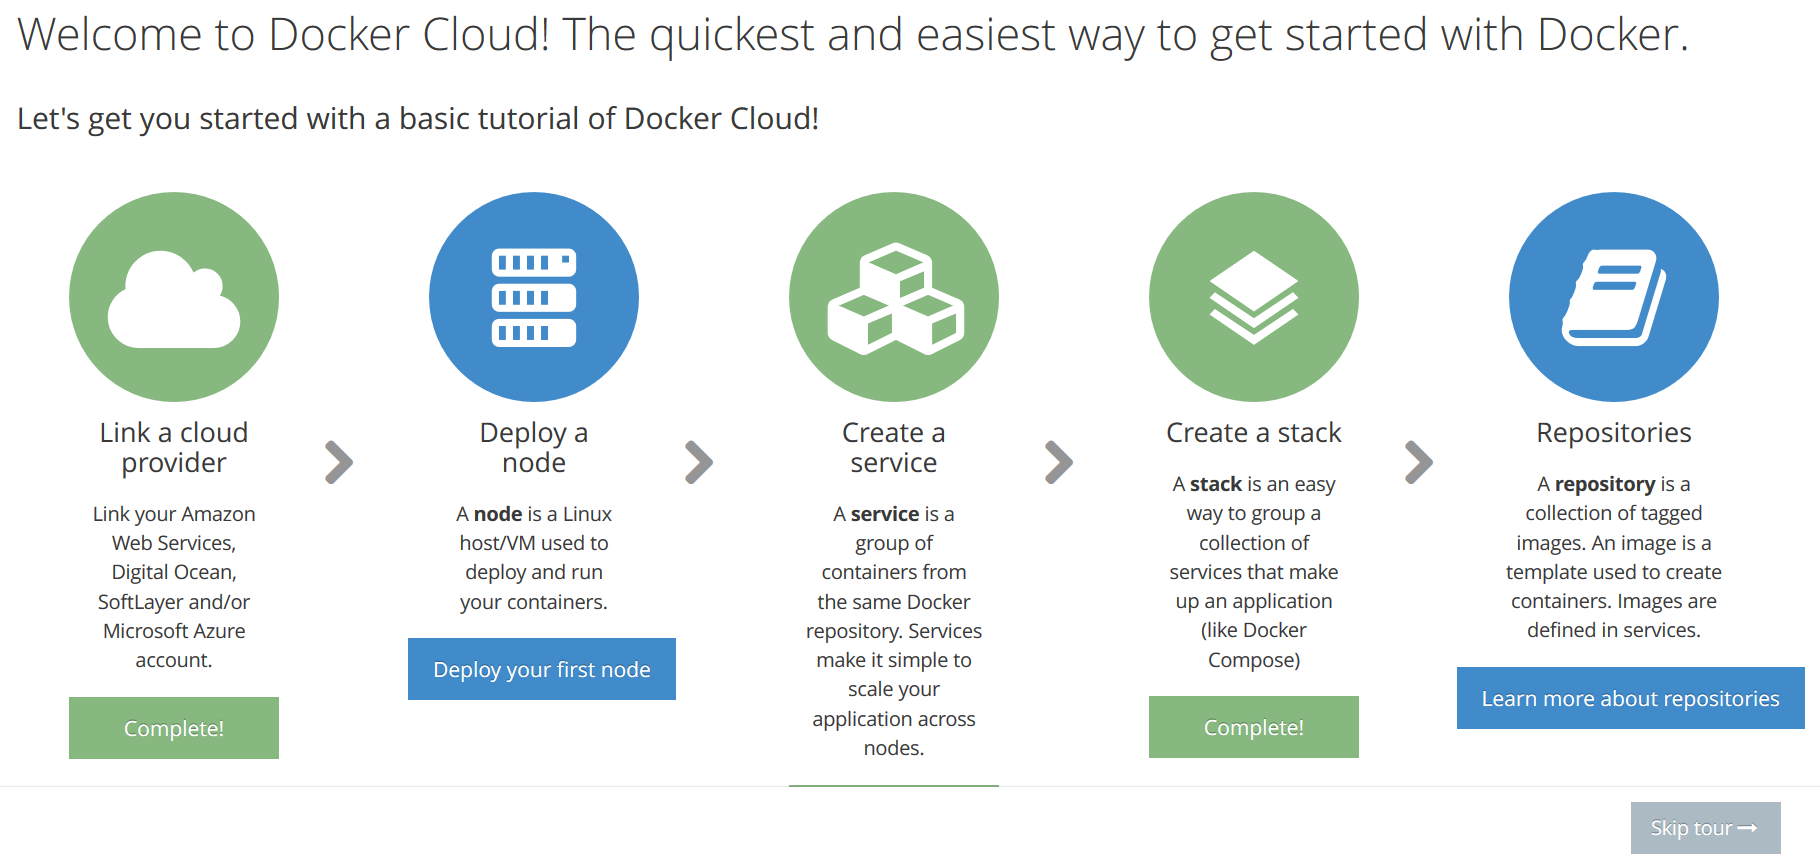
 They have a neat tour! Getting set up with AWS as my service provider was a snap. It spins up its own AWS instances to use as nodes though, which means I can’t use my fancy auto-initialization with an auto-scaling group. But, you can also ‘bring your own node’ by installing the docker-cloud client. Turned out to be pretty simple to incorporate that into my launch script:
# set up docker cloud
sudo apt-get -y install python-pip
sudo pip install docker-cloud
# the 'byo' command prints out a list of instructions, we just need to run the line with the curl command.
docker-cloud node byo | grep 'curl' | sh
sudo gpasswd -a ubuntu docker
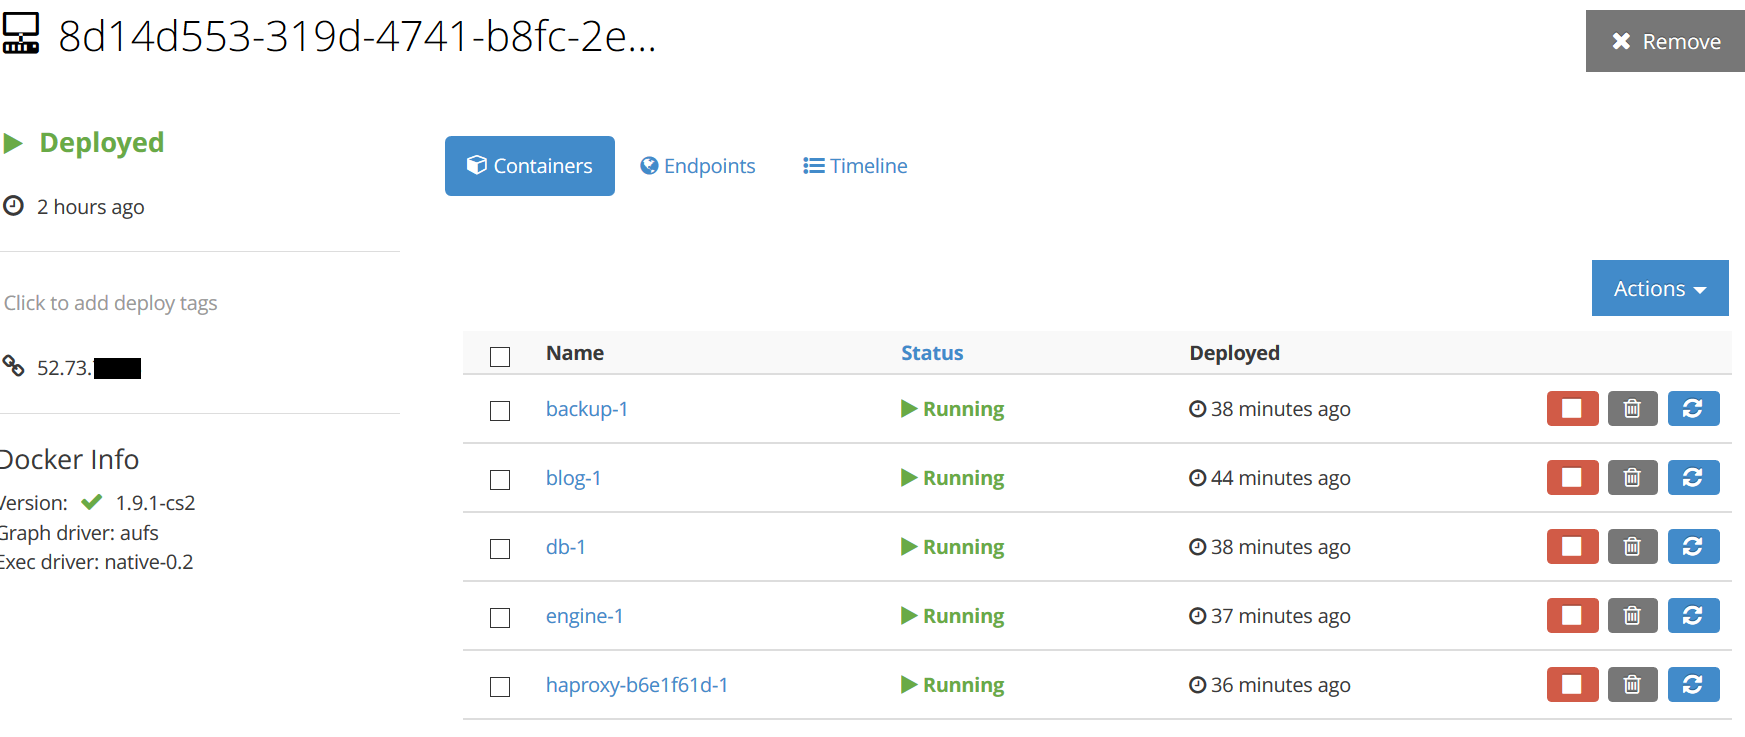
One tricky part was that I couldn’t use the Amazon ECS-optimized image, since the docker-cloud client only supports ubuntu. So I had to switch all my initialization stuff over to an ubuntu image. That was a bit of a pain. But, after getting it all set up, my node appeared in the ’nodes’ tab on docker cloud!
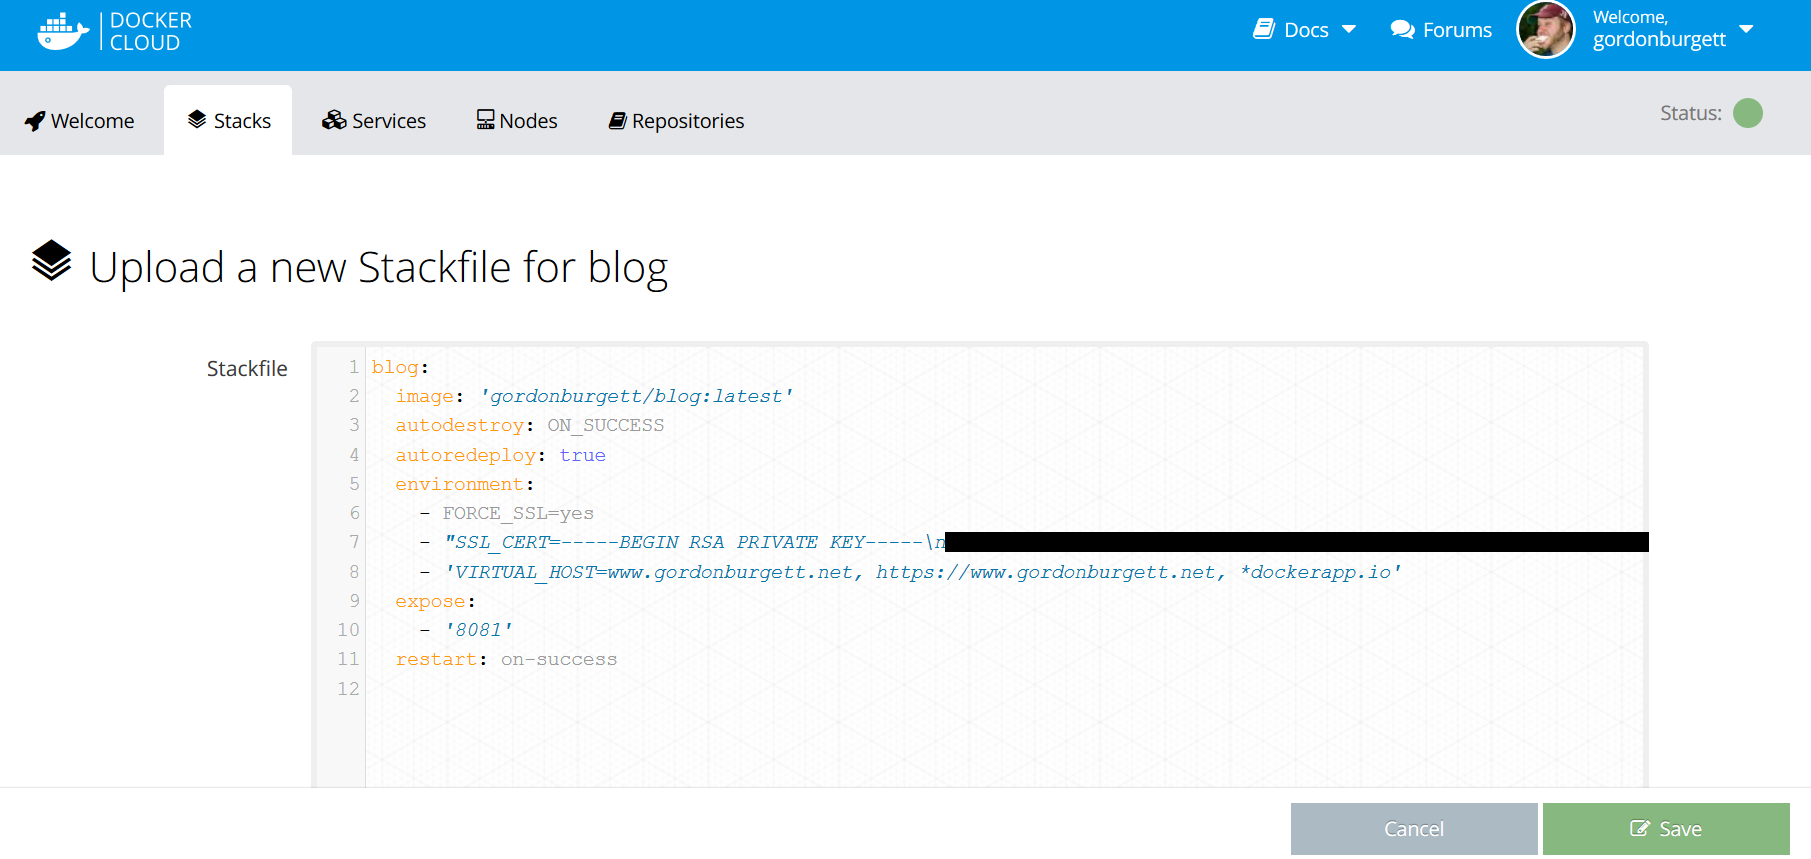
Now to set up my services. You can set them up directly using the web interface, but I prefer to have well-defined files somewhere describing my services. Docker cloud has a concept called ‘stacks’ which are defined by yaml files, similar to docker-compose. This let me link all the dependent services together in a declarative way. I created my ‘blog’ stack like this:
 Now I need to set up my haproxy load balancer in front of it. I decided this time I’ll dockerize my load balancer instead of having it run straight on the EC2 instance. I messed around with it for a long time before I found this image, which does everything I want: https://hub.docker.com/r/dockercloud/haproxy/
Setting that up was a breeze. I created a service to run it, and set it to listen on ports 80 and 443 (the HTTP and HTTPS ports). It contacts the docker cloud API and discoveres the locations of all my other services automatically, and imports their info into its configuration. I just needed to declare a couple environment variables in my other services, like hostname and SSL keys, and it imports them to route virtual hosts and terminate SSL connections automagically. Sweet!
Only a couple things tripped me up at this point. One was the routing based on the VIRTUAL_HOST environment variable. If you want it to route https traffic, you need an “https://” virtual host in there. Another thing was that, while this haproxy service has a DNS hostname, I can’t just make a CNAME to it from www.gordonburgett.net, since the DNS hostname changes whenever the container is reloaded. So I stuck to my old way of assigning an Elastic IP to the node and using that in my DNS records.
Running the Reclaimed site
One of the things that sparked all this was my attempt to get the Reclaimed site to do automatic nightly backups to aws s3. I modified this docker container, which automatically backs up anything in /var/backup to aws s3, and linked that in to my other two containers. I also had to set up cron tasks in the other two containers to do automated backup and restore to and from /var/backup. That took a while, but I think my solution works well.
Once I got all that figured out locally, deploying it to docker cloud was pretty simple. Here’s my stackfile:
backup:
  image: 'gordonburgett/backup-volume-container:latest'
  command: 's3://s3.amazonaws.com/gordonburgett.net/backup/reclaimed 30'
  environment:
    - AWS_ACCESS_KEY_ID=********
    - AWS_SECRET_ACCESS_KEY=********
db:
  image: 'gordonburgett/mongo-locomotive:latest'
  volumes_from:
    - backup
engine:
  image: 'gordonburgett/locomotive_engine:latest'
  environment:
    - SECRET_KEY_BASE=********
    - VIRTUAL_HOST=reclaimed.gordonburgett.net
  expose:
    - '8080'
  links:
    - db
  restart: on-failure
  volumes_from:
    - backup
I updated my haproxy service to link to the “engine” service, and started it up. Now going to ‘reclaimed.gordonburgett.net’ gets me through the load balancer and into the rails app. Perfect! I uploaded the site, which you can see at http://reclaimed.gordonburgett.net
Here it is!

Like I said, neat!